Are you tired of relying on others to handle minor issues around the house? Embracing the world of DIY Repairs can empower you to take charge and fix common household problems yourself.
From leaky faucets to squeaky doors, these small projects are not only manageable but also cost-effective. Learning these skills can save you time and money while giving you the satisfaction of a job well done.
Ready to roll up your sleeves and dive into the world of DIY Repairs? Discover how simple fixes can transform your home and boost your confidence!
Understanding the Basics of DIY Repairs
When it comes to DIY repairs, understanding the basics is crucial. First off, it’s important to know that not every repair is created equal. Some tasks are straightforward, while others might require a bit more skill or knowledge. Start by assessing the problem at hand—what exactly needs fixing? Is it something you can handle, or does it require a professional’s touch?
One of the first steps in any DIY project is gathering information. YouTube is a treasure trove of tutorials—just search for your specific issue, and you’ll find countless videos guiding you through the process. Additionally, many hardware stores offer workshops where you can learn hands-on skills. Don’t hesitate to ask staff for advice; they can often provide you with helpful tips and tricks.
Next, consider your own skill level. If you’re a beginner, start with smaller, simpler projects. This will help build your confidence and skills over time. For instance, changing a light bulb or fixing a loose cabinet door are great starting points. As you gain experience, you can tackle more complex repairs, like patching drywall or fixing plumbing issues.
Lastly, remember that patience is key. DIY repairs can sometimes take longer than expected, and that’s perfectly okay. Take your time, follow instructions carefully, and don’t rush the process. With practice and perseverance, you’ll soon find that you can handle a wide range of repairs around your home.
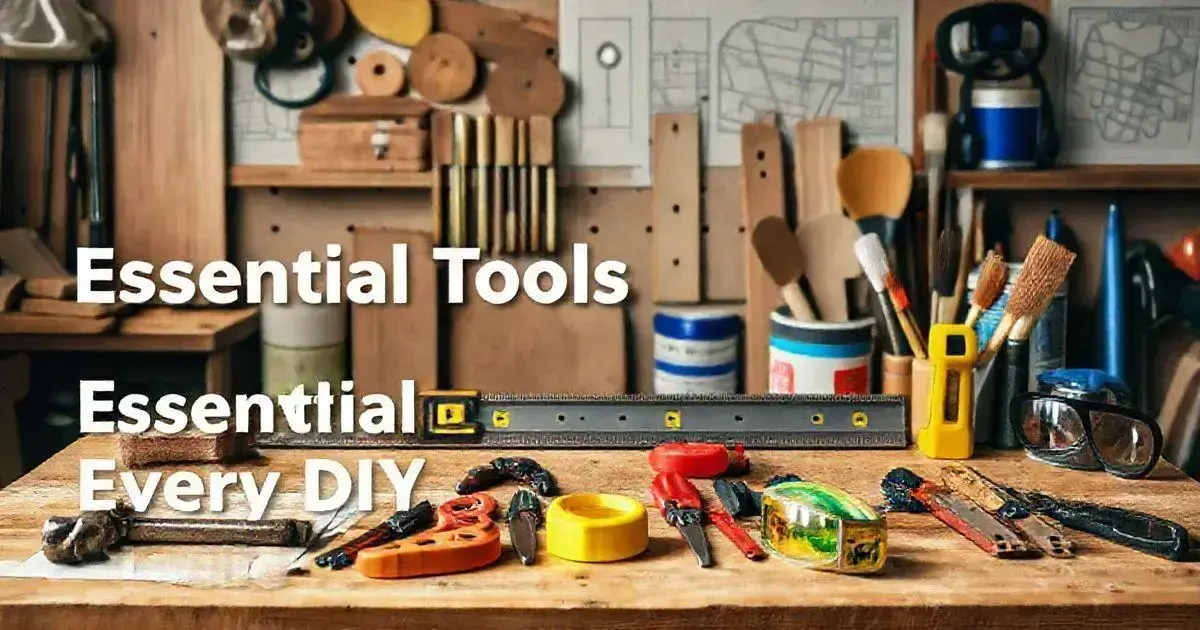
Essential Tools Every DIYer Should Have

Having the right tools can make all the difference when it comes to DIY repairs. Here’s a list of essential tools that every DIYer should have in their toolkit:
1. Hammer: A good hammer is a must-have for any DIY project. Whether you’re hanging pictures or assembling furniture, a hammer will come in handy.
2. Screwdriver Set: Invest in a set that includes both flathead and Phillips screwdrivers. You’ll encounter various screws in your repairs, so having the right screwdriver is crucial.
3. Tape Measure: Accurate measurements are key to successful repairs. A retractable tape measure is portable and easy to use, making it essential for any project.
4. Pliers: Pliers can grip, twist, and cut wires or small components. A pair of needle-nose pliers is especially useful for tight spaces.
5. Utility Knife: A sharp utility knife is perfect for cutting through various materials, from cardboard to plastic. Just be sure to handle it with care!
6. Level: To ensure that your shelves, frames, or anything else you’re hanging are straight, a level is indispensable. It helps you avoid the frustration of crooked installations.
7. Drill: A cordless drill is a versatile tool that can make your life so much easier. It’s perfect for drilling holes and driving screws quickly and efficiently.
8. Wrench Set: If you’re tackling plumbing or mechanical repairs, a set of wrenches will come in handy. They help you tighten or loosen nuts and bolts with ease.
9. Safety Gear: Don’t forget about safety! A pair of safety goggles and gloves will protect you while you work on your projects.
10. Toolbox: Finally, you’ll need a sturdy toolbox to keep everything organised. A good toolbox helps you find your tools quickly and keeps your workspace tidy.
By having these essential tools at your disposal, you’ll be well-prepared to take on a variety of DIY repairs around your home. Remember, investing in quality tools pays off in the long run!
Step-by-Step Guide to Common Repairs
When it comes to DIY repairs, having a step-by-step guide can make the process much smoother. Below are some common repairs and how to tackle them:
1. Fixing a Leaky Faucet:
– Gather your tools: You’ll need a wrench, screwdriver, and replacement washers.
– Turn off the water supply: Locate the shut-off valves under the sink and turn them off.
– Disassemble the faucet: Use the screwdriver to remove the handle and expose the inner workings.
– Replace the washer: Identify the worn-out washer and replace it with a new one.
– Reassemble and test: Put everything back together, turn the water supply back on, and check for leaks.
2. Patching a Hole in the Wall:
– Clean the area: Remove any loose debris around the hole.
– Apply patching compound: Use a putty knife to fill the hole with patching compound, smoothing it out as you go.
– Sand the area: Once dry, sand the patched area until it’s flush with the wall.
– Paint: Touch up with paint that matches the rest of the wall.
3. Changing a Light Fixture:
– Turn off the power: Safety first! Switch off the circuit breaker.
– Remove the old fixture: Unscrew the old light fixture from the ceiling and disconnect the wires.
– Connect the new fixture: Match the wires from the new fixture to the corresponding wires in the ceiling (usually black to black and white to white).
– Secure the fixture: Screw the new fixture into place and turn the power back on.
4. Unclogging a Sink:
– Use a plunger: Make sure there’s enough water in the sink to cover the plunger and give it a few good pumps.
– Try a drain snake: If plunging doesn’t work, a drain snake can help remove stubborn clogs.
– Flush with hot water: Once the clog is cleared, flush the sink with hot water to ensure everything is moving smoothly.
5. Fixing a Squeaky Door:
– Identify the squeak: Open and close the door to pinpoint where the noise is coming from.
– Lubricate the hinges: Apply a few drops of lubricant (like WD-40) to the hinges and open and close the door several times to work it in.
– Wipe away excess: Make sure to wipe away any excess lubricant to avoid drips.
By following these step-by-step guides, you can tackle common repairs with confidence. Remember, practice makes perfect, so don’t be discouraged if it doesn’t go perfectly the first time!
Safety Tips for DIY Repair Projects

Safety should always come first when working on DIY repairs. These projects can be rewarding and cost-effective, but they also come with potential risks if precautions aren’t taken seriously. Whether you’re fixing a leaky pipe or assembling furniture, keeping safety in mind is crucial to ensure your efforts lead to success without any harm.
When diving into DIY repairs, remember to gear up with protective equipment, such as goggles and gloves, and keep your workspace clean to avoid accidents. Understanding your tools and reading instructions thoroughly can make all the difference in completing your task safely. If the project involves electricity, always double-check that the power is off before starting.
Tackling DIY repairs alone might seem like a good idea, but having someone nearby, especially for larger projects, is often a safer choice. Additionally, taking breaks and knowing your limits can prevent mistakes and injuries. Stay safe and enjoy the satisfaction of completing your repair projects with confidence!
By following these safety tips, you can ensure that your DIY repair projects are not only successful but also safe. Remember, a little caution goes a long way!
How to Troubleshoot Common Issues
Troubleshooting common household issues can seem overwhelming, but with a structured approach, many problems can be resolved quickly and efficiently. Whether you’re addressing plumbing, flooring, or electrical concerns, taking the time to understand the root cause is key. If you enjoy DIY repairs, these tips will help you tackle frequent problems with confidence.
1. Leaky Faucet:
Identify the Source: Determine whether the leak is from the handle, spout, or base to pinpoint the issue.
Tighten Connections: Use a wrench to secure loose fittings, as this often stops minor leaks.
Replace Washers or O-Rings: If tightening doesn’t help, worn-out washers or O-rings are likely the culprit. Replacing them is a simple fix for most DIY repairs.
2. Clogged Drain:
Check for Visible Blockages: Remove hair or debris manually if it’s accessible.
Plunge the Drain: Use a plunger with enough water to cover the rubber cup for effective suction.
Use a Drain Cleaner: For stubborn clogs, try a chemical drain cleaner or a baking soda and vinegar mix.
3. Squeaky Floorboards:
Pinpoint the Area: Walk on the floor to locate the squeaky spot.
Secure Loose Boards: Use screws or nails to fasten the boards firmly to the joists.
Apply Lubricant: For persistent noise, apply paraffin wax or silicone spray between boards to minimize friction.
4. Flickering Light Bulb:
Check the Bulb: Turn off the power, tighten the bulb, and ensure it’s properly seated.
Inspect the Fixture: Look for damage or corrosion in the light fixture.
Test the Circuit: If the flicker persists, consult a professional to examine the circuit for deeper issues.
5. Stuck Window or Door:
Clean the Tracks: Dirt or debris often causes sticking. Remove any buildup in the tracks.
Lubricate Moving Parts: Apply silicone spray to hinges or tracks for smoother operation.
Inspect for Warping: Check the frame and door/window for signs of warping or misalignment.
When to Call a Professional for Help

While DIY repairs can save you time and money, there are certain situations where calling a professional is the best course of action. Here are some signs that it’s time to seek expert help:
1. Complex Electrical Issues: If you’re dealing with electrical problems that involve wiring, circuit breakers, or anything beyond changing a light bulb, it’s wise to call a licensed electrician. Electricity can be dangerous, and it’s better to leave it to the pros.
2. Major Plumbing Problems: Leaks, clogs, or burst pipes that you can’t easily fix should be handled by a plumber. Attempting to fix significant plumbing issues without the right knowledge can lead to more damage and costly repairs.
3. Structural Repairs: If you notice signs of structural damage, such as cracks in the foundation, sagging floors, or bowed walls, it’s crucial to consult a structural engineer or contractor. These issues can affect the safety and integrity of your home.
4. HVAC Troubles: If your heating or cooling system is malfunctioning, it’s best to call an HVAC technician. These systems are complex and require specialised knowledge for repairs and maintenance.
5. Safety Concerns: If a project involves safety risks that you’re uncomfortable managing—like working at heights, handling hazardous materials, or dealing with heavy machinery—it’s better to hire a professional.
6. Time Constraints: If you find yourself overwhelmed or short on time, don’t hesitate to call in a pro. Sometimes, it’s more efficient to have someone else handle the job, especially if it’s urgent.
7. Lack of Experience: If you’re unsure about your ability to complete a project safely and effectively, it’s a good idea to seek help. Professionals have the experience and tools to get the job done right.
